 Save
Save My coworker walked past my desk holding a box of store-bought green cookies last March, and I couldn't help but notice how dull they looked—flat, hard, and frankly, forgettable. That evening, I decided to make my own version, and something magical happened the moment that butter and sugar came together and I added the gel coloring. The kitchen filled with this warm, buttery sweetness mixed with vanilla, and I realized these weren't just cookies; they were little edible celebrations waiting to happen.
I brought these to a St. Patrick's Day potluck last year, and watching my friends bite into the soft centers and taste that creamy frosting was worth every minute of prep work. One person said, "These taste homemade," and honestly, that simple comment meant more to me than any compliment about how pretty they looked.
Ingredients
- All-purpose flour (2 1/2 cups): This is the backbone of your cookies, so don't skip sifting it if you have the time—it keeps everything light and fluffy instead of dense.
- Baking powder (1/2 tsp): Just enough to give the cookies a delicate rise without making them cake-like or too puffy.
- Salt (1/4 tsp): A tiny pinch that makes the vanilla and butter flavors sing and balances the sweetness beautifully.
- Unsalted butter (1 cup), softened: Room temperature butter is non-negotiable here; cold butter won't cream properly and you'll end up with dense dough.
- Granulated sugar (1 cup): This creams with the butter to create that light, fluffy texture that makes these cookies irresistible.
- Large egg (1): Acts as a binder and adds moisture without drying out the cookies during baking.
- Vanilla extract (2 tsp): Use pure vanilla, not imitation—the difference is noticeable when vanilla is a star ingredient.
- Almond extract (1/2 tsp, optional): If you use it, this adds a subtle sophistication that pairs perfectly with the vanilla and makes people wonder what your secret ingredient is.
- Green gel food coloring: Gel is your best friend here because it's concentrated and won't thin out your dough the way liquid coloring would.
- Green sparkling or sanding sugar (1/2 cup): This is what gives the cookies that festive sparkle—coat the dough balls generously before baking and don't be shy.
- Powdered sugar (1 3/4 cups, sifted) for frosting: Sifting removes lumps and makes your frosting smooth and cloud-like instead of grainy.
- Unsalted butter (1/2 cup, softened) for frosting: Again, room temperature is key for creaming until it's pale and fluffy.
- Milk (1 1/2 tbsp): A splash that loosens the frosting to the perfect spreading consistency without making it runny.
- Vanilla extract (1 tsp) for frosting: Reinforces that vanilla flavor and makes the frosting taste like something you'd find at a fancy bakery.
- Salt (pinch) for frosting: Brightens the sweetness and keeps the frosting from tasting one-dimensional.
Tired of Takeout? 🥡
Get 10 meals you can make faster than delivery arrives. Seriously.
One email. No spam. Unsubscribe anytime.
Instructions
- Get your oven ready and prep your pans:
- Preheat to 350°F and line two baking sheets with parchment paper so your cookies slide off without sticking. This setup takes two minutes and saves you from cookies that tear or break when you try to move them.
- Whisk the dry ingredients together:
- Combine the flour, baking powder, and salt in a medium bowl and set it aside. This distributes the leavening agent evenly throughout the dough so every cookie rises and bakes at the same rate.
- Cream the butter and sugar until it's light and fluffy:
- This takes about 2 to 3 minutes with an electric mixer, and you'll know you're done when the mixture looks pale and airy. This step is where the magic happens—you're incorporating air that makes the cookies tender.
- Add the egg and extracts:
- Beat in the egg, vanilla, and almond extract (if using) until everything is well combined. The mixture will look slightly curdled at first, but keep mixing and it'll smooth out.
- Add the green color until it's the shade you want:
- Stir in the gel food coloring a drop or two at a time, mixing thoroughly after each addition so the color is even and vibrant. Gel coloring is forgiving; you can adjust the shade as you go.
- Fold in the dry ingredients gently:
- Add the flour mixture to the wet ingredients and mix just until a soft dough forms. Overmixing here is the enemy; you want a tender crumb, not a tough cookie.
- Roll the dough balls and coat them in sparkle:
- Scoop tablespoon-sized portions, roll them into balls, and immediately coat each one generously in green sparkling sugar. Don't be timid here—that sparkle is the whole reason people reach for these first.
- Arrange on the baking sheets and flatten:
- Place the balls 2 inches apart and gently press each one down with your palm to create a flat cookie shape. They'll bake more evenly this way and look more intentional.
- Bake until the edges set but the centers stay soft:
- Bake for 9 to 11 minutes, watching carefully; you're looking for the edges to be set and golden while the centers still have a tiny bit of give. Cool them completely on a wire rack before moving them, or they'll fall apart.
- Make the frosting while the cookies cool:
- Beat the softened butter until it's creamy, then gradually add the sifted powdered sugar, milk, vanilla, and a tiny pinch of salt. Beat until the frosting is smooth, fluffy, and spreadable.
- Assemble the sandwich cookies:
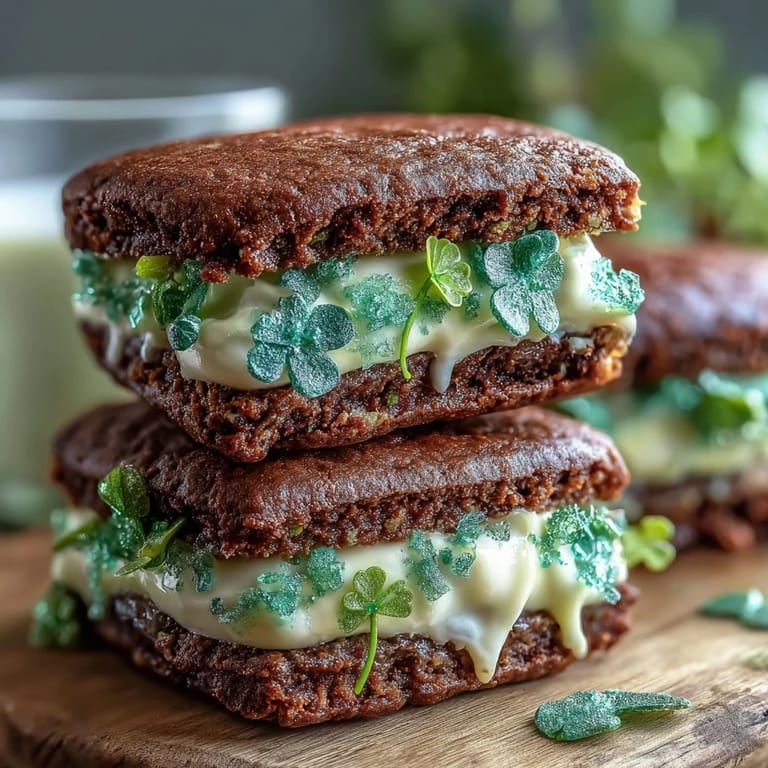
- Spread or pipe a generous dollop of frosting onto the flat side of half the cookies, then top with the remaining cookies to create sandwiches. If you want extra sparkle, roll the frosting-covered edges in more sparkling sugar before they set.
 Save
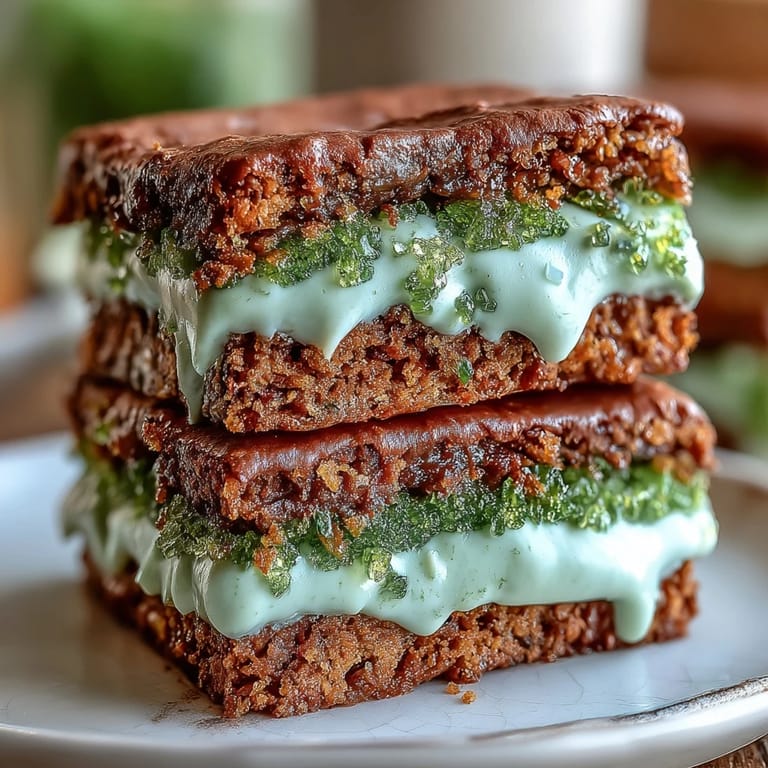
Save There's something about a homemade cookie sandwich that feels special in a way store-bought versions never will. The moment someone takes a bite and finds that creamy frosting hidden inside is the same moment you know you've made something worth the effort.
The Secret to Soft, Tender Cookies
The key to cookies that stay soft is not overbaking them—they should look almost underdone when you pull them from the oven. They'll continue to cook slightly on the baking sheet as they cool, and by the time they're completely room temperature, they'll have that perfect chewy-meets-crumbly texture. I used to bake mine for the full 12 minutes and end up with something closer to a shortbread cookie, which is fine, but once I pulled them out a minute or two earlier, everything changed.
Why Gel Coloring Really Matters Here
Gel food coloring is concentrated, so you use far less of it than liquid coloring, which means your dough stays thick and sturdy instead of becoming sticky and hard to work with. The first time I tried this recipe with liquid food coloring from my pantry, the dough spread too thin on the baking sheets and the cookies came out flat and lifeless. Switching to gel completely transformed the outcome—the cookies puffed up slightly, stayed thick, and had that satisfying bite I was going for.
Storage and Make-Ahead Magic
These cookies genuinely taste better after a day or two, when the flavors meld and the frosting sets just right. Store them in an airtight container at room temperature, and they'll stay fresh and soft for up to three days—though honestly, they rarely last that long in my house. If you want to get ahead, you can bake the plain cookies up to four days in advance and assemble them the day before your event, giving you one less thing to worry about.
- For extra freshness, place a slice of bread in the container with the cookies, which sounds weird but actually keeps them soft and moist.
- If you're making these for a party, assemble them in the morning so the frosting has time to set slightly and the cookies hold together better.
- Keep a small jar of extra sparkling sugar nearby for last-minute decorating if anyone wants to roll the frosting edges for extra sparkle.
 Save
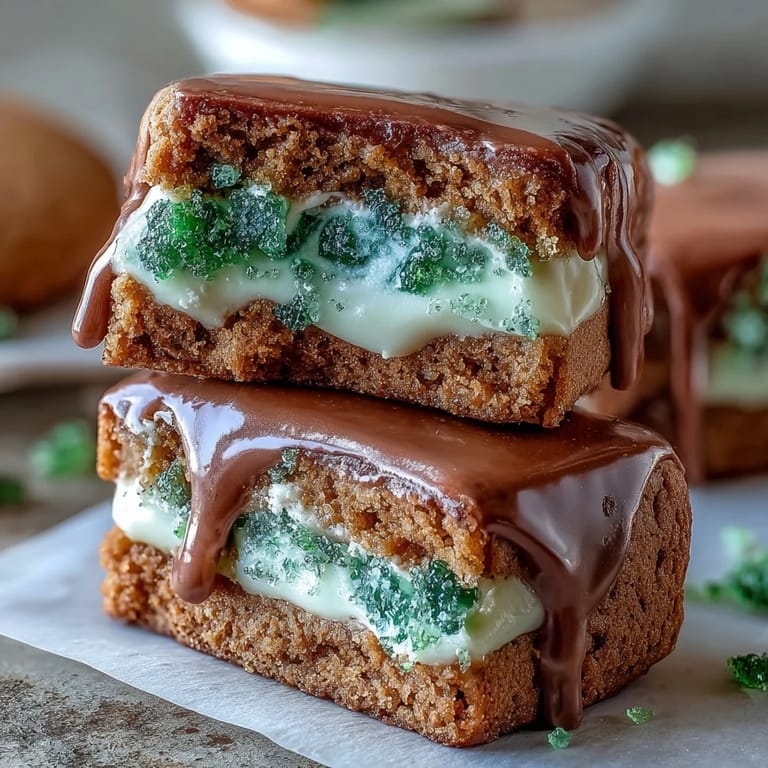
Save These green sugar cookie sandwiches are proof that a little effort in the kitchen pays off in smiles and happiness. Make them once, and they'll become a tradition you find yourself reaching for every March.
Cooking Guide
- → What gives the cookies their vibrant green color?
The bright green hue comes from gel food coloring, which ensures a vivid color without altering the dough's consistency.
- → How do I achieve the sparkling sugar coating?
Before baking, roll the cookie dough balls in green sparkling sugar to create a shimmering surface that bakes to a delicate crunch.
- → Can the frosting be flavored differently?
Yes, adding peppermint extract or other flavorings to the vanilla frosting can provide a festive twist without overpowering the cookies.
- → What texture should the cookies have after baking?
The cookies should be soft with set edges, offering a tender bite that complements the creamy frosting inside.
- → How should these treats be stored to maintain freshness?
Store the assembled cookies in an airtight container at room temperature for up to three days to keep them fresh and flavorful.