 Save
Save The first time I attempted a character cake, my kitchen looked like a craft room explosion. There was red food coloring everywhere and my attempt at fondant hair looked more like a muddy helmet than anything recognizable. But something about that playful challenge stuck with me, and now Betty Boop cakes have become my go-to for celebrations that need extra personality.
My niece asked for a Betty Boop cake for her 12th birthday, and I spent three nights practicing that signature hair silhouette on wax paper. The morning of the party, I was still convinced it would look like a cartoon disaster. But when she walked in and saw those big white eyes staring back, she actually jumped up and down. That moment of pure joy made every fussy fondant detail worth it.
Ingredients
- All-purpose flour: Provides the structure for those tall proud layers that need to support fondant without collapsing
- Red gel food coloring: Gel delivers that deep cartoon red without watering down your batter like liquid dyes do
- Cream cheese: Room temperature is nonnegotiable here, otherwise you will end up with lumpy buttercream and a lot of frustration
- Black fondant: Knead it thoroughly until it is pliable and warm, or it will tear when you try to drape it over the cake
- White fondant: Roll this between sheets of parchment to prevent sticking and keep those eye circles perfectly smooth
- Red fondant: A little goes a long way for those signature lips, so keep scraps wrapped tightly to prevent drying
Tired of Takeout? 🥡
Get 10 meals you can make faster than delivery arrives. Seriously.
One email. No spam. Unsubscribe anytime.
Instructions
- Prep your pans and oven:
- Lining pans with parchment is the insurance policy that keeps your cake layers from sticking and breaking later
- Mix the dry ingredients:
- Whisking flour, baking powder, and salt now means no dry pockets in your finished cake
- Cream butter and sugar:
- Those three full minutes of beating incorporate air bubbles that make the cake tender rather than dense
- Add eggs and vanilla:
- Room temperature eggs emulsify better into the batter, creating that velvety texture red velvet is known for
- Alternate wet and dry:
- This gentle folding prevents overdeveloping gluten, which keeps the crumb soft and delicate
- Color the batter:
- Add gel food coloring a little at a time, remembering that baked red always looks slightly darker than raw batter
- Bake and cool:
- Rotating the pans halfway through prevents uneven baking, and patience during cooling prevents soggy edges
- Make the buttercream:
- Sifting the powdered sugar first is the secret to silky smooth frosting without those annoying tiny lumps
- Stack and crumb coat:
- This thin layer of frosting locks in loose crumbs so your final coat stays pristine and professional looking
- Roll and cut fondant:
- Dusting your surface with cornstarch instead of powdered sugar keeps the fondant from getting sticky or too sweet
- Apply the face:
- Work quickly once the fondant touches the buttercream, or it will slide and those perfect eyes will go crooked
- Final touches:
- Let the completed cake rest before slicing to give the fondant time to settle and the buttercream to firm up
 Save
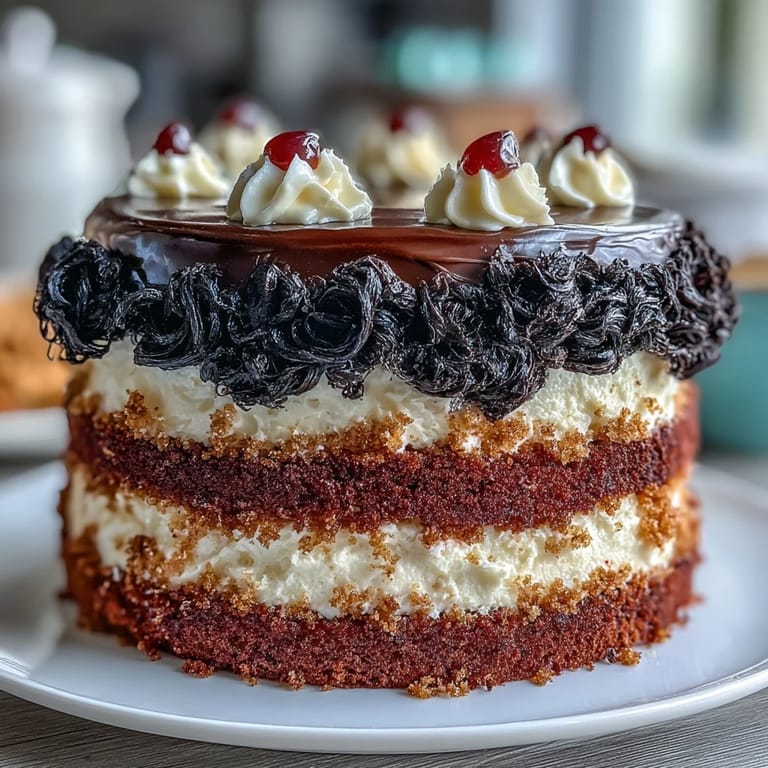
Save Last year I made this for a 1940s themed party and the host actually framed a photo of the cake alongside vintage posters. Something about that glossy black hair against the buttercream yellow walls made the whole room feel like a scene from an old cartoon come to life. The best part was watching skeptical adults become absolutely delighted by how whimsical it felt.
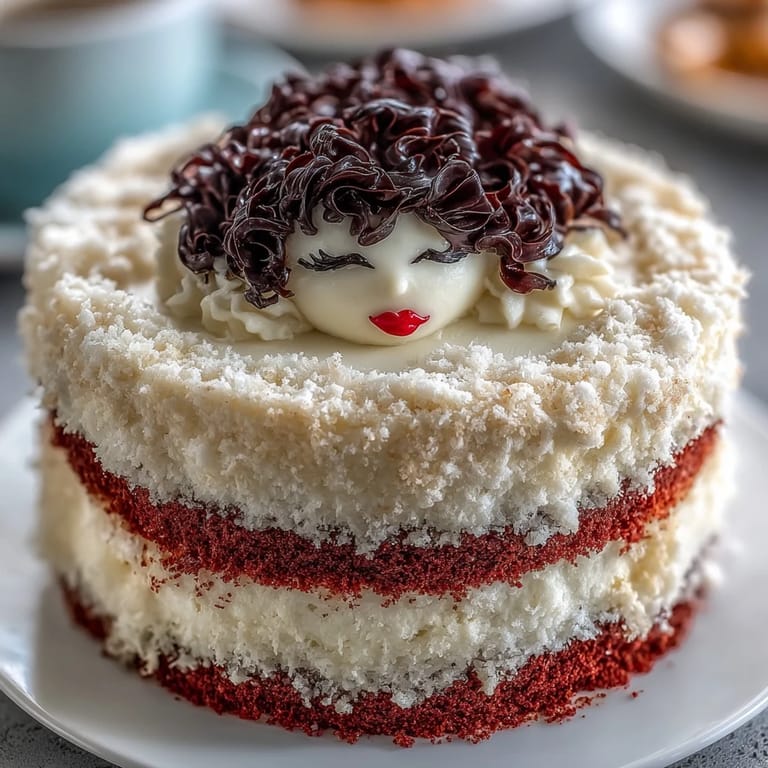
Getting That Hair Just Right
I learned the hard way that Betty Boops signature hair has a very specific swoop that looks wrong if even slightly off. Print a reference photo and trace the silhouette onto parchment first, then use that as your cutting guide. The extra five minutes of prep saves so much frustration later when you are trying to freehand curved shapes in fondant that does not forgive mistakes easily.
Working With Black Fondant
Black fondant shows every fingerprint and imperfection, so keep your hands lightly dusted with cornstarch as you work. I also warm it slightly between my palms for just ten seconds before rolling, which makes it more cooperative without getting so soft that it loses its shape. The contrast between jet black fondant and bright white eyes is what makes this cake instantly recognizable, so take your time smoothing those surfaces.
Making Those Eyes Pop
The secret to Betty Boops expressive eyes is positioning them slightly higher on the face than feels natural, with those tiny white heart highlights catching light from the same direction. I also brush the white fondant with a very light touch of pearl dust right before attaching it, which makes the eyes sparkle under venue lighting.
- Attach fondant pieces with the smallest possible amount of buttercement to avoid oozing
- Keep a clean damp towel nearby to wipe cornstarch residue off dark fondant
- Step back and view the face from across the room to check proportions before the buttercream sets
 Save
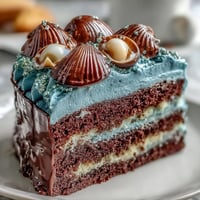
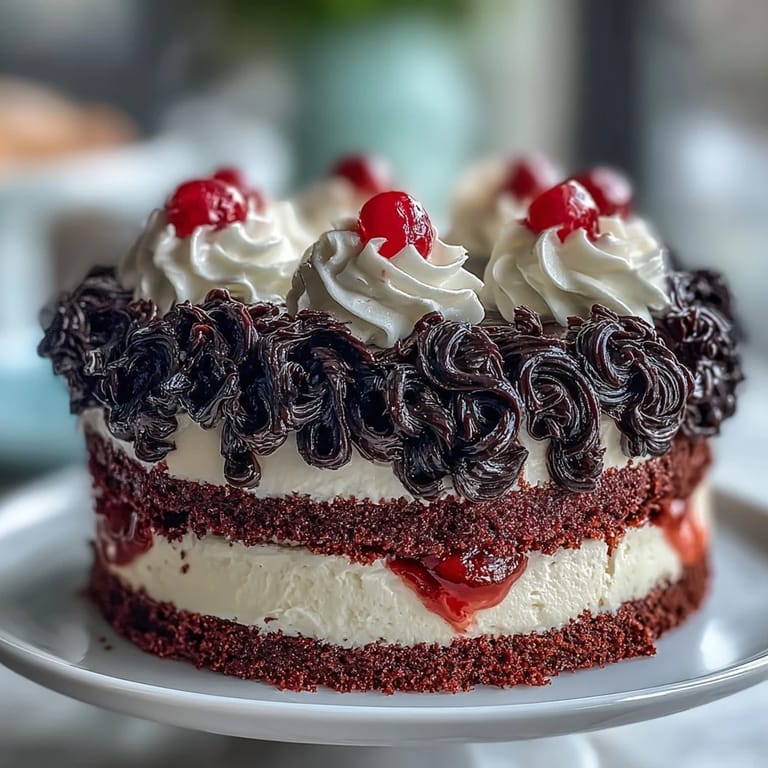
Save There is something magical about cutting into that dramatic exterior and revealing those playful red layers inside. This cake never fails to make people smile, and honestly, that is exactly what baking should be about.
Cooking Guide
- → Why is red gel food coloring used instead of liquid?
Red gel food coloring provides a more vibrant and intense hue without significantly altering the consistency of the batter, unlike liquid food coloring which can dilute it.
- → Can I make the fondant decorations in advance?
Yes, fondant decorations can be prepared a day or two ahead and stored in an airtight container at room temperature. This helps save time on the day of assembly.
- → What if my cream cheese buttercream is too soft?
If your buttercream is too soft, it likely needs to be chilled. Place it in the refrigerator for 15-20 minutes, then re-whip until it reaches a spreadable consistency. Ensure your butter and cream cheese are at room temperature, but not overly warm.
- → How do I ensure even cake layers?
To ensure even cake layers, accurately measure ingredients, divide batter equally between pans, and use a level baking surface. Trimming domes level with a serrated knife after cooling also helps create a uniform stack.
- → Can I use a different type of frosting?
While cream cheese buttercream is classic for this style of cake, you can certainly substitute it with Swiss meringue buttercream for a lighter, silkier texture, or even a basic vanilla American buttercream if preferred.
- → How can I prevent the fondant from cracking?
To prevent fondant from cracking, ensure it's kneaded well until pliable before rolling. Roll it to an even thickness and avoid stretching it too much when applying. Keeping the ambient temperature stable also helps.